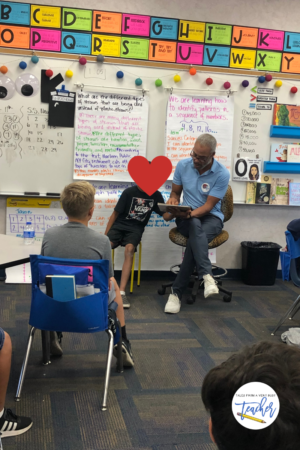
A Bloom Ball is a 3-dimensional project that requires students to complete activities moving them through the levels of Bloom’s Taxonomy. A Bloom Ball project offers students at all levels the opportunity to demonstrate their understanding of not only novels but other content areas too! Think social studies, science, math…the options are endless.
Here’s how you make it:
1. After using the guiding questions found in my Bloom Ball resource, have students cut out each circle.
Bloom Ball Videos by Talesfromaverybusyteacher
2. Fold each side. Make sure to really crease the paper.
Bloom Ball Videos by Talesfromaverybusyteacher
3. Place six pieces of paper together, lining them up with one in the center.
Bloom Ball Videos by Talesfromaverybusyteacher
4. Staple them together. You will have two semi-circles.
Bloom Ball Videos by Talesfromaverybusyteacher
5. Staple the two halves together.
Bloom Ball Videos by Talesfromaverybusyteacher
6. Display them by hanging them from your classroom ceiling.
Bloom Ball Videos by Talesfromaverybusyteacher
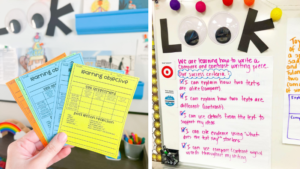
For lesson slides, Bloom Ball templates, and guiding questions, check out my Bloom Ball resource in my TpT shop.
You can also visit my Instagram to see how this came to life.
For more classroom and teaching ideas, subscribe here.