This is a sponsored post written by me on behalf of Cricut. All opinions are 100% mine.
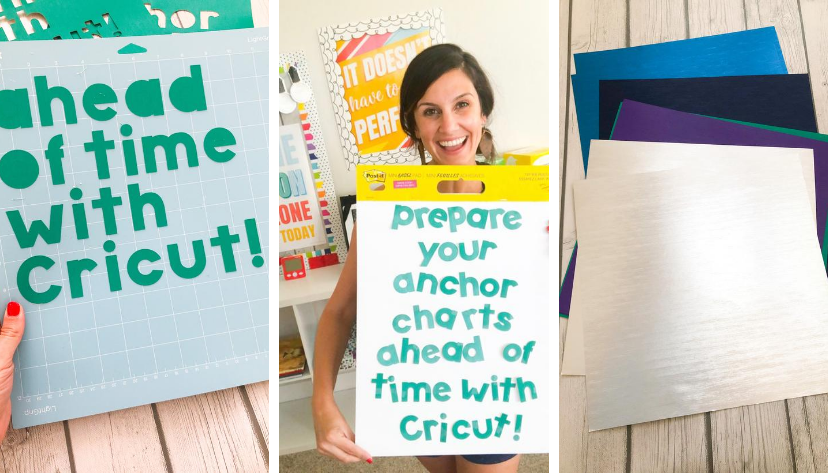
This school year one of my goals is to be better at planning ahead! One way I’m hoping to do that is by prepping my anchor charts ahead of time using my Cricut.
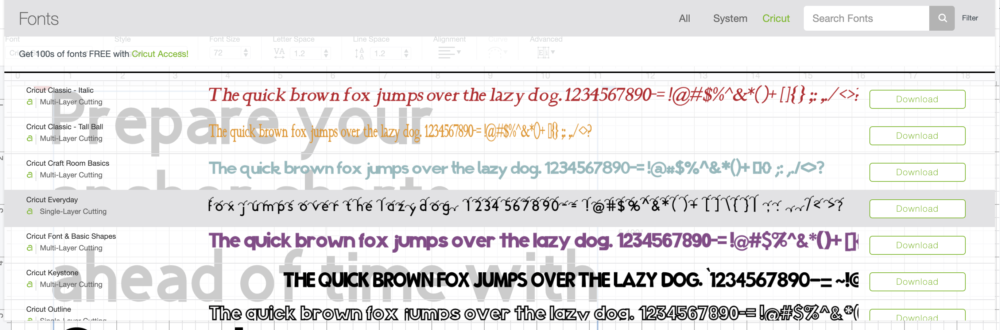
What’s great about using the Cricut is precision letter cutting and, of course, cute fonts!
Here’s how to start:
1. Open the design space.
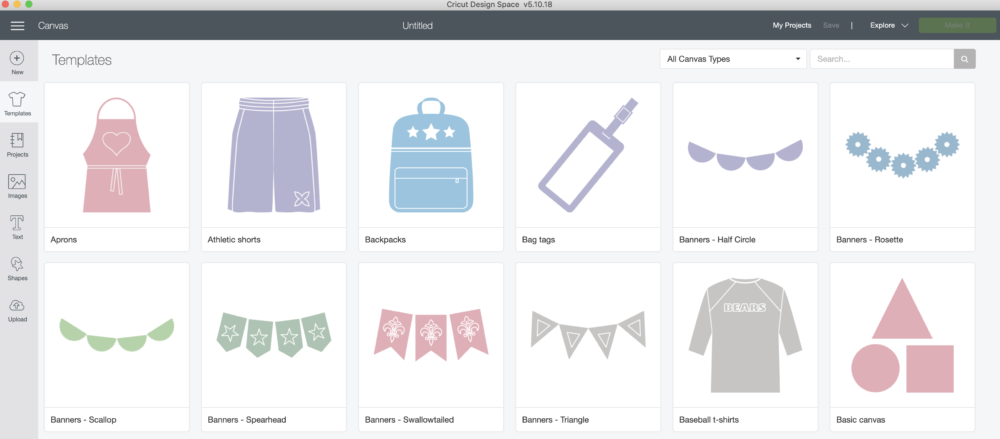
2. Start a new project.

3. Click the add text option.

4. Type in your text.
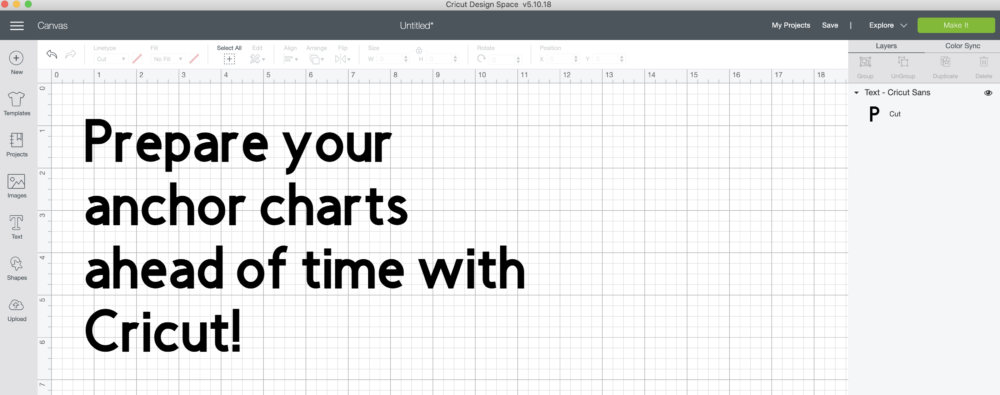
5. Choose a Cricut font.
Play around with your size and spacing. Depending on the size of your Cricut mat, you’ll need to adjust accordingly. Once you’ve determined the size you want, you’ll be ready to cut!
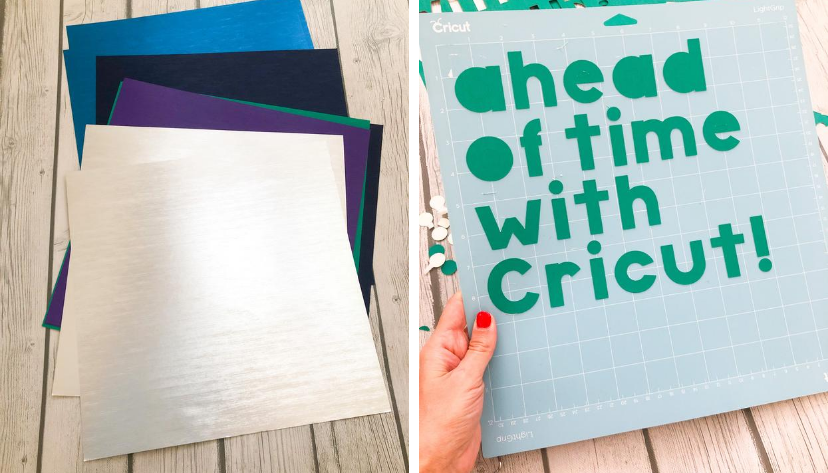
You can choose any paper you’d like for your design. You can even use vinyl so you can stick directly on your chart.
I like to use Cricut cardstock. The color and texture options are great.
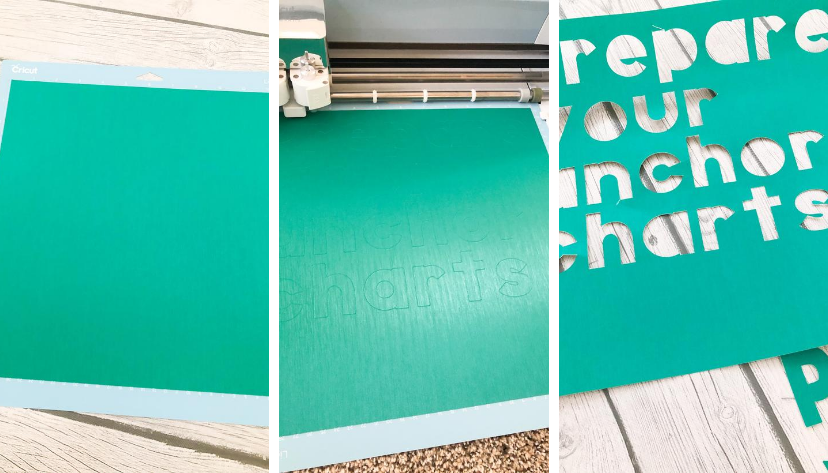
When you’re ready to cut, make sure you’ve chosen the cardstock option and then cut your design!
Carefully peel off the cardstock when you’re done cutting and then your letters will be ready.
You can even choose images and other designs in the Cricut Design Center to spruce up your anchor chart.
See more on my Instagram and click the links above to grab your Cricut materials.
This is a sponsored post written by me on behalf of Cricut. All opinions are 100% mine.