Let’s go fly a kite!
I have created this fun antonym lesson plan (adaptable for grades one through four), addressing the following CCSS:
Grade 4
CCSS.ELA-LITERACY.L.4.5.C
Demonstrate understanding of words by relating them to their opposites
(antonyms) and to words with similar but not identical meanings (synonyms).
Demonstrate understanding of words by relating them to their opposites
(antonyms) and to words with similar but not identical meanings (synonyms).
Grade 3
CCSS.ELA-LITERACY.L.3.5
Demonstrate understanding of figurative language, word relationships and
nuances in word meanings.
Demonstrate understanding of figurative language, word relationships and
nuances in word meanings.
Grade 2
CCSS.ELA-LITERACY.L.2.5
Demonstrate understanding of word relationships and nuances in word meanings.
Demonstrate understanding of word relationships and nuances in word meanings.
Grade 1
CCSS.ELA-LITERACY.L.1.5
With guidance and support from adults, demonstrate understanding of word relationships
and nuances in word meanings.
With guidance and support from adults, demonstrate understanding of word relationships
and nuances in word meanings.
After completing this lesson, students will be able to identify and use antonyms. They will also demonstrate their knowledge of antonyms by creating a poem using the Diamante Poem format. This poem will take shape in a super cute KITE!
This lesson can be completed with your own time format, but usually will take about an hour and a half to complete. The subject matter will be revisited throughout the course of the year through “teachable moments” when connecting other literary terms to prior knowledge of antonyms.
Here’s what you will need to complete the lesson:
- Whiteboards and white board markers to check for understanding
- Pencils
- Projector or smart board
- Computer for use of the PPT lesson
- Graphic Organizers
- Kite blackline on white construction paper
- Kite backing on colored construction paper
- Various types and colors of ribbon
- Crayons and markers
Here is my step by step direct instruction lesson using a PPT presentation. I have uploaded it here for you using a PDF format so we don’t lose the font or formatting. Feel free to download and use in your classroom!
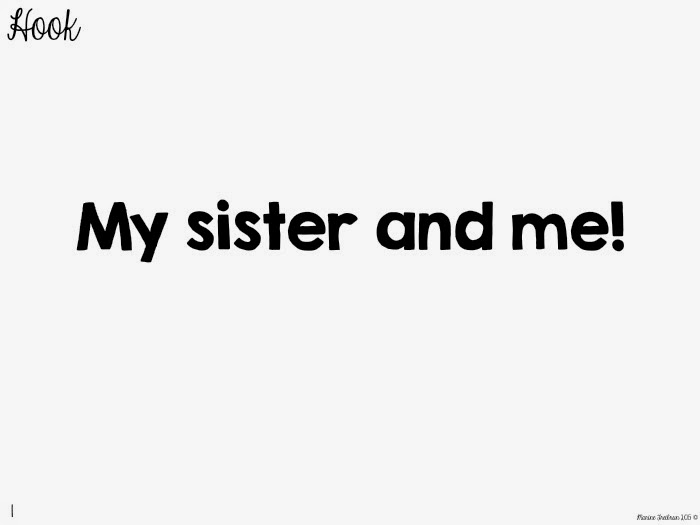
Slide One: Hook or Anticpatory Set
Engage students in a conversation about my sister and I, and relate my relationship with my sister to students’ relationships with their siblings. Discuss how siblings can be the same, or how siblings can be completely different. Through this discussion, talk about the differences in siblings, and explain the term “opposite.” Tell students that there is a synonym for opposite-a word that means the same as opposite. Explain that in writing, when we come across two words that are the opposite of each other, we call them ANTONYMS. Tell students the objective of today’s lesson, and write on the board “SWBAT (Students will be able to…) identify and use antonyms in exploring new vocabulary for a new story selection (or whatever vocabulary you would like to use).
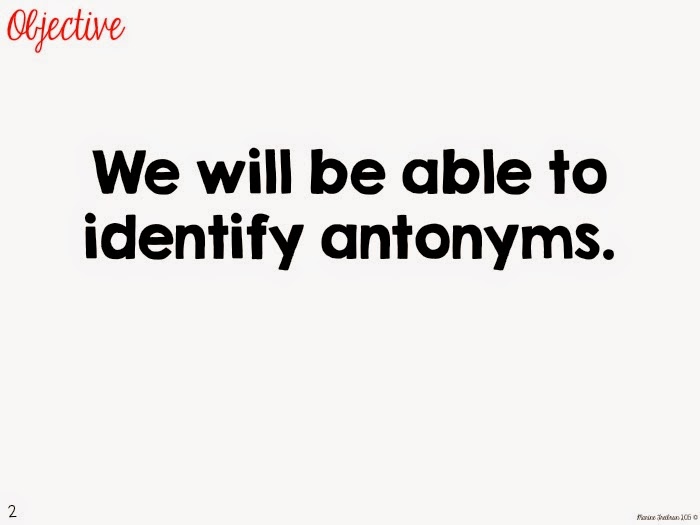
Slide Two: Objective
State objective your students and write it on the board.
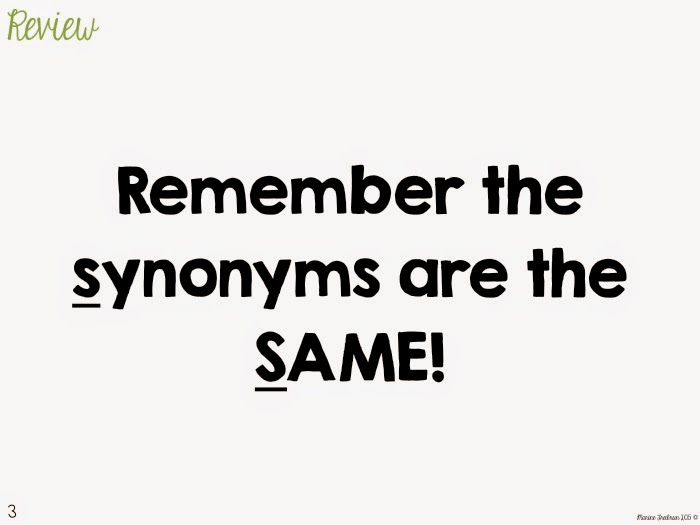
Slide 3: Review
This review is made for a class that has already had a lesson on synonyms. If you would like a different review, email me, and I can make you a personalized slide. For this review, just reiterate by saying “We have learned about synonyms before. Synonyms are words that mean the SAME thing.” You can help students remember that Synonyms are the Same because of the S.
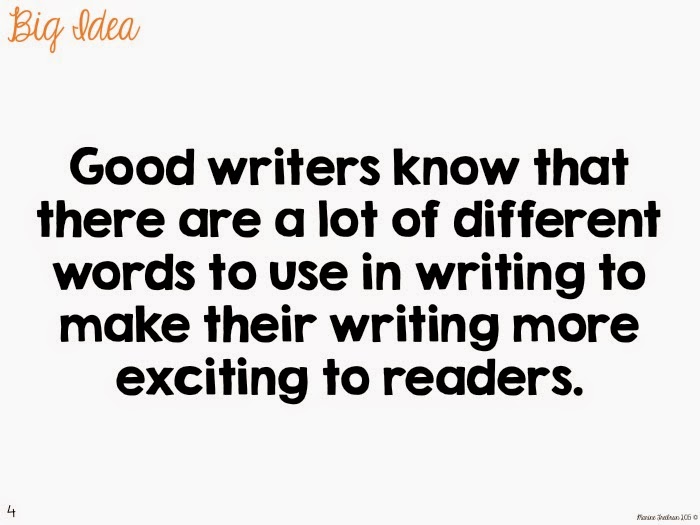
Slide 4: Big Idea
The Big Idea answers the question, “Why do we need to learn this?”
The big idea for this lesson helps students understand that this lesson will help them become better writers.
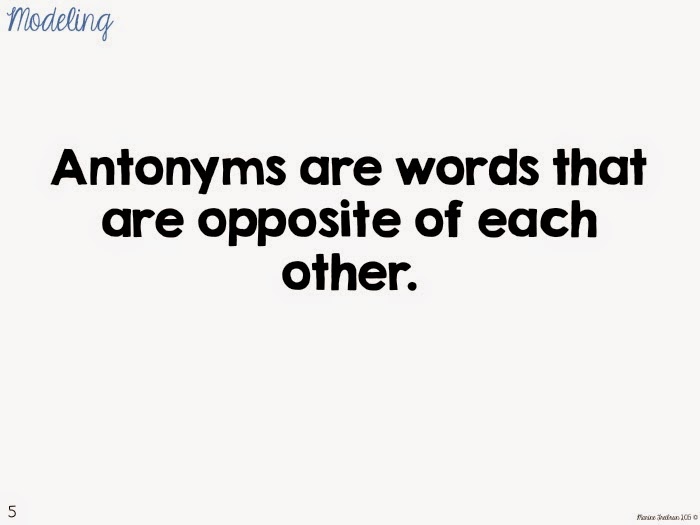
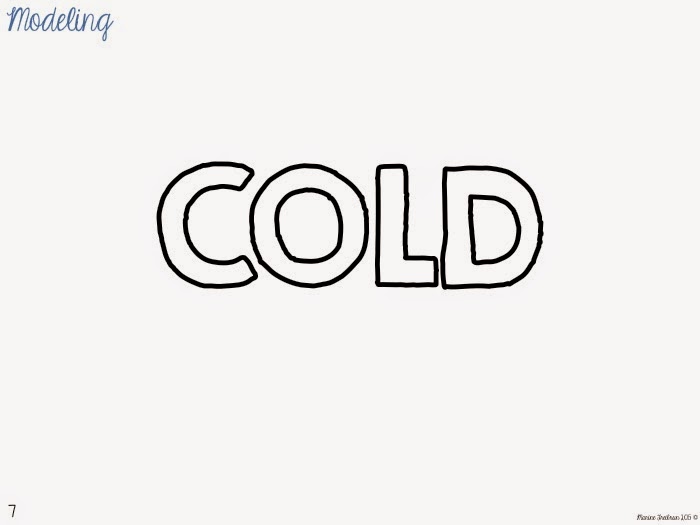
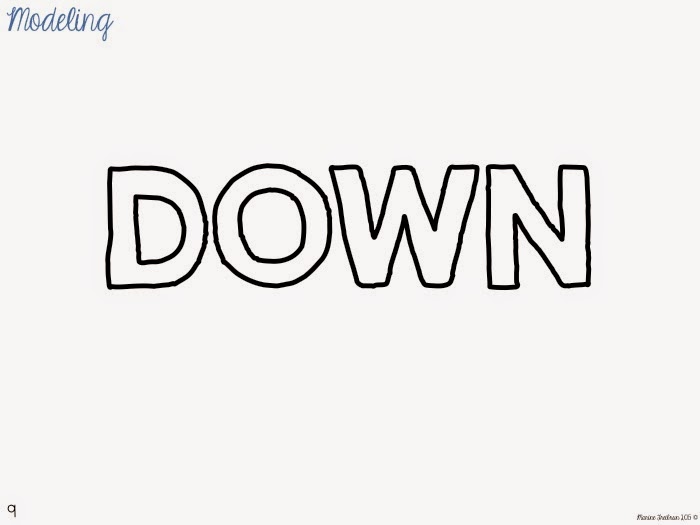
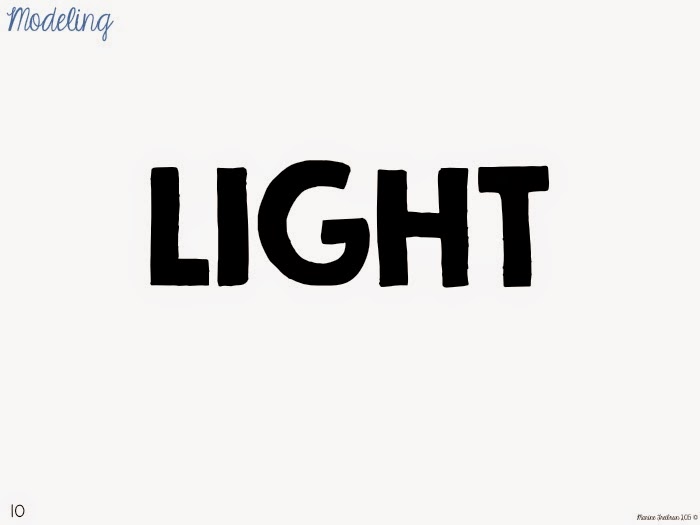
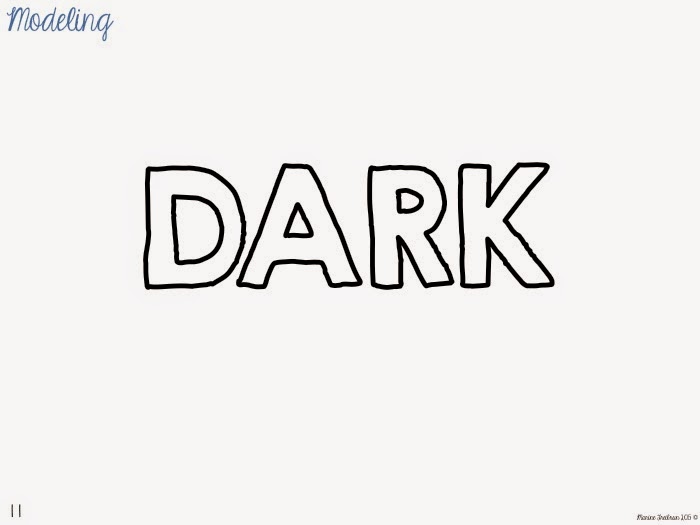
Slides 5 through 11: Modeling
Slide 5 reminds students that antonyms are words that mean the opposite of each other. Show slide 6 and talk about the word “hot.” Tell students you have come up with an antonym and show them slide 7 for “cold.” Continue this modeling through slide 11.

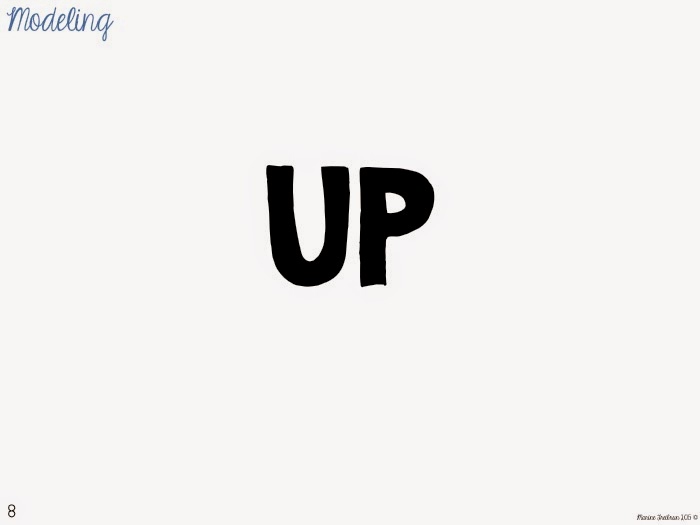
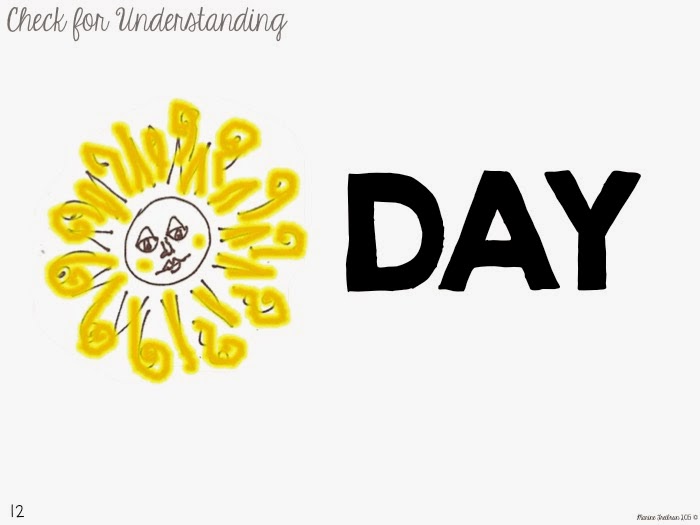
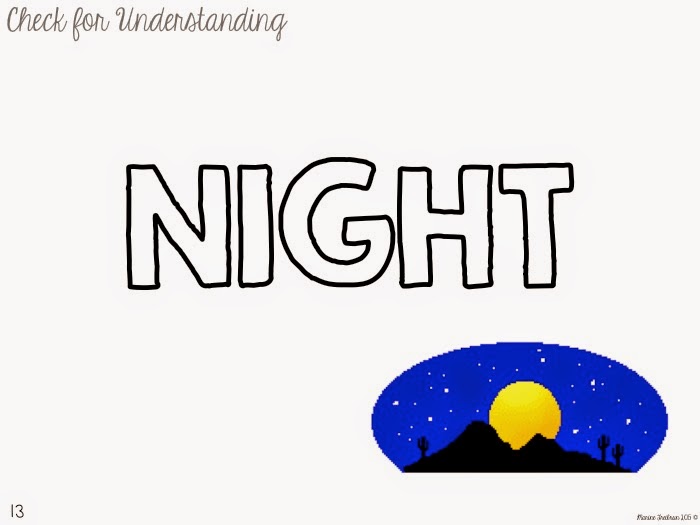
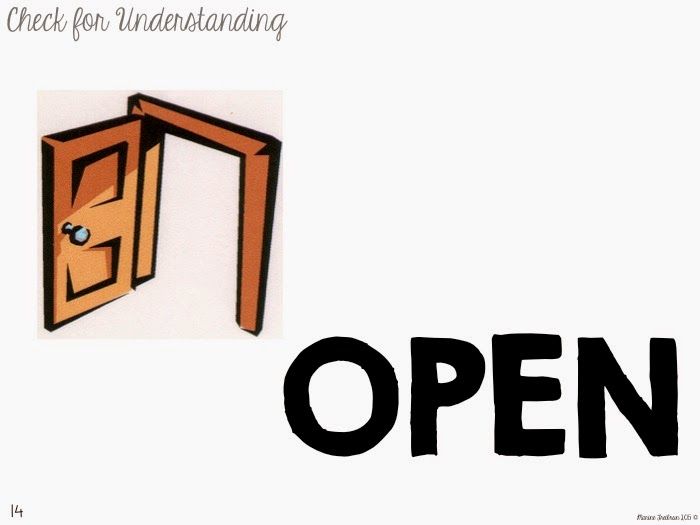
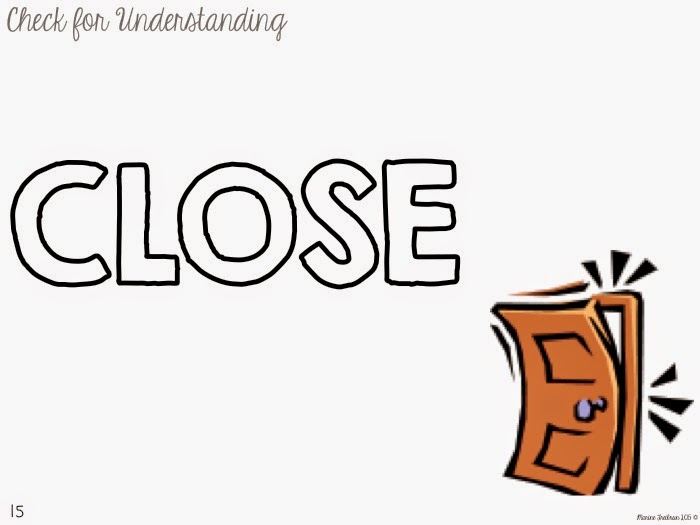
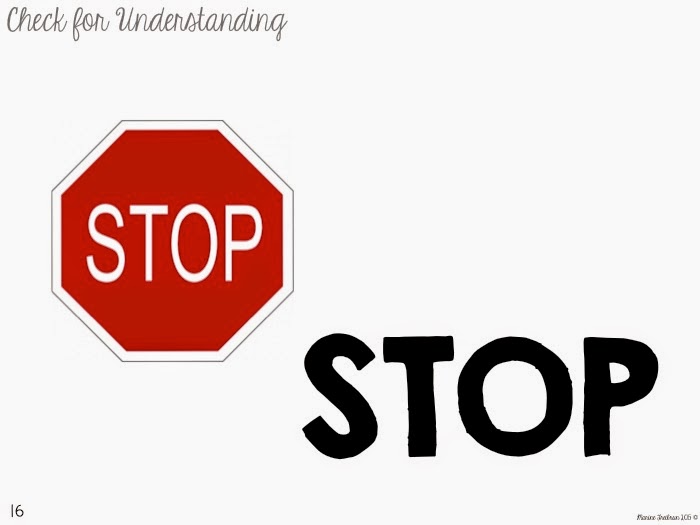
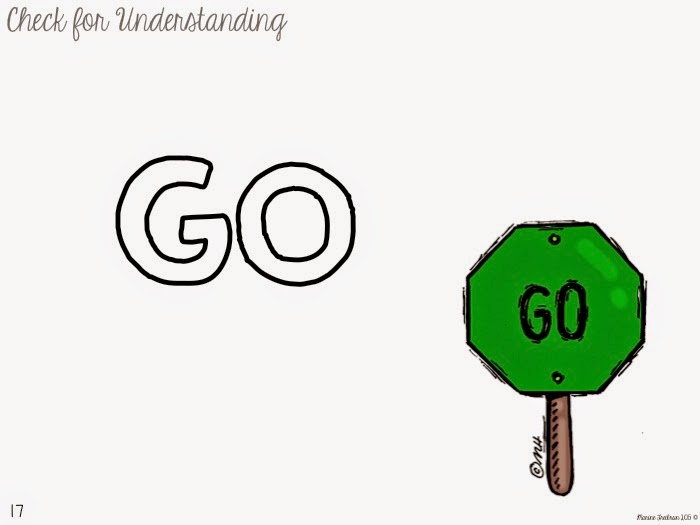
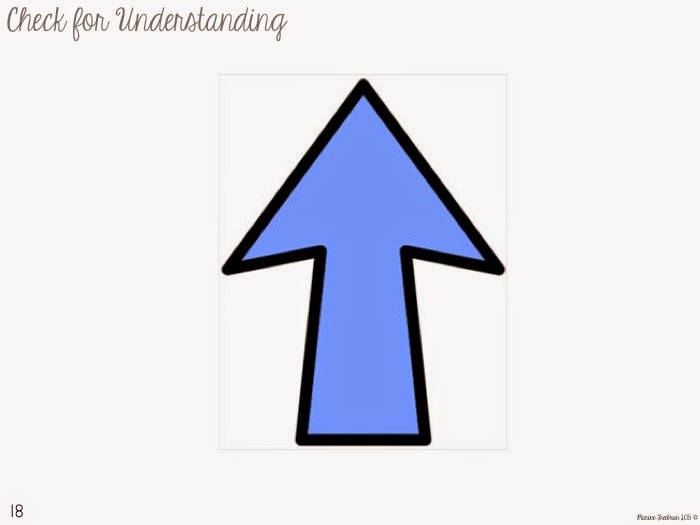
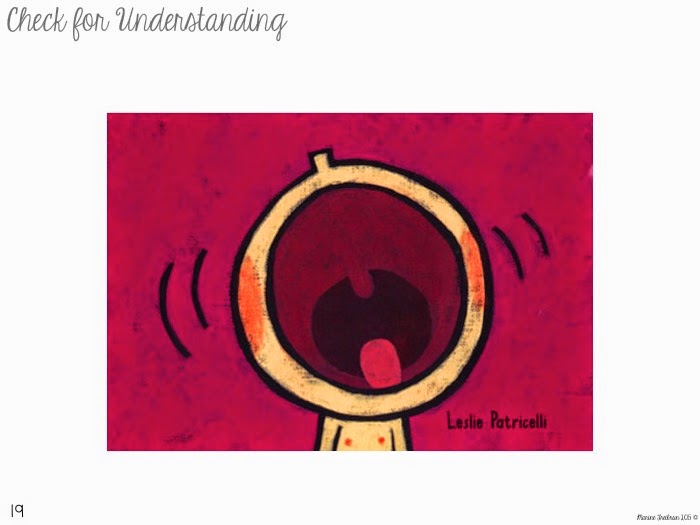
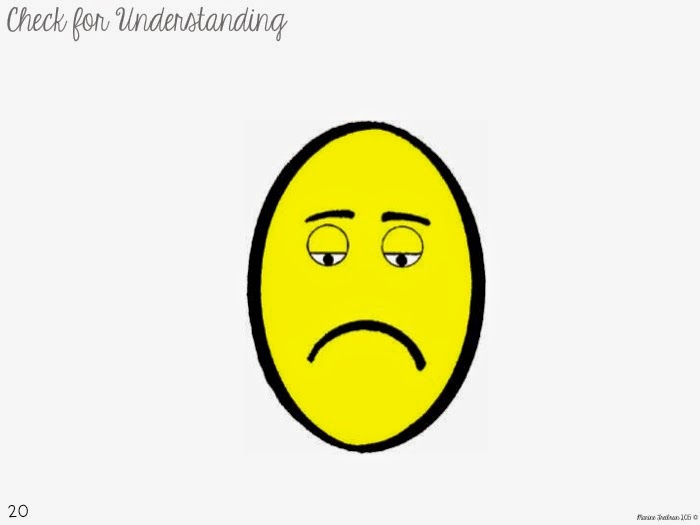
Slides 12 through 20: Check for Understanding
Slides 12 through 20 will allow students to use their whiteboards and whiteboard markers, and will also allow you to check for understanding. Show students slide 12 with the picture and the word. Ask them to come up with an antonym and write it on their whiteboards. Continue this through slide 20. Slides 18 through 20 will only show a picture. If you need to, explain the picture before checking students’ white boards.
Slide 18 “up”
Slide 19 “loud”
Slide 20 “sad”
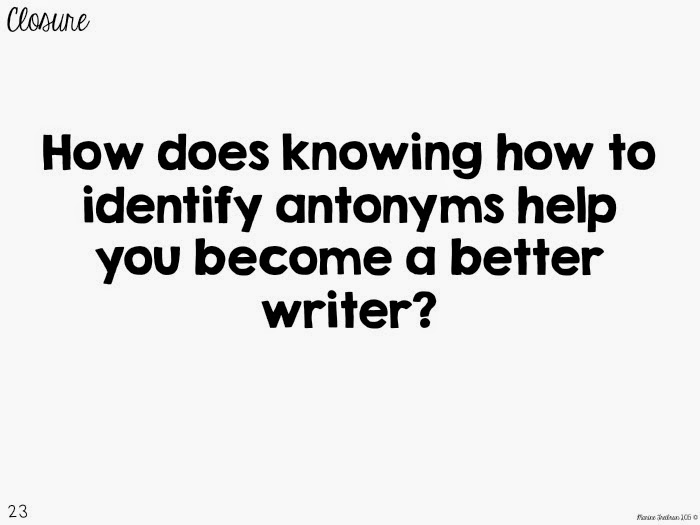
Slides 21 through 23: Closure
Ask students the three questions on the closure slides to close the lesson. Ask to see their answers on their whiteboards.


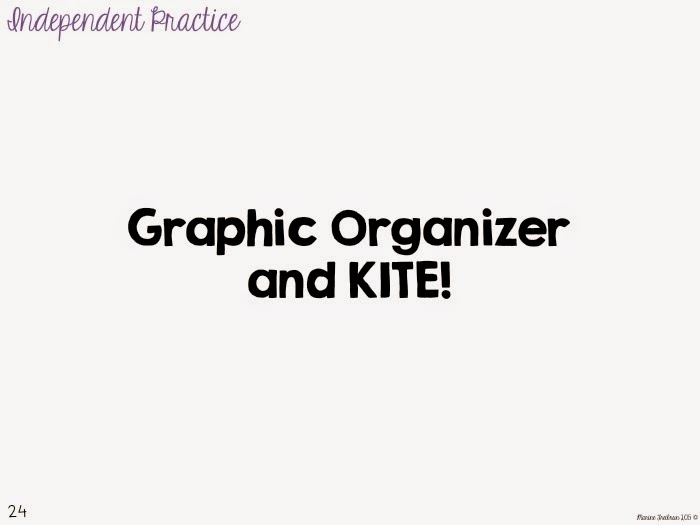
Slide 24: Independent Practice
Students will fill out a Diamante Poem graphic organizer and create a cute kite craftitvity to display their knowledge of antonyms.
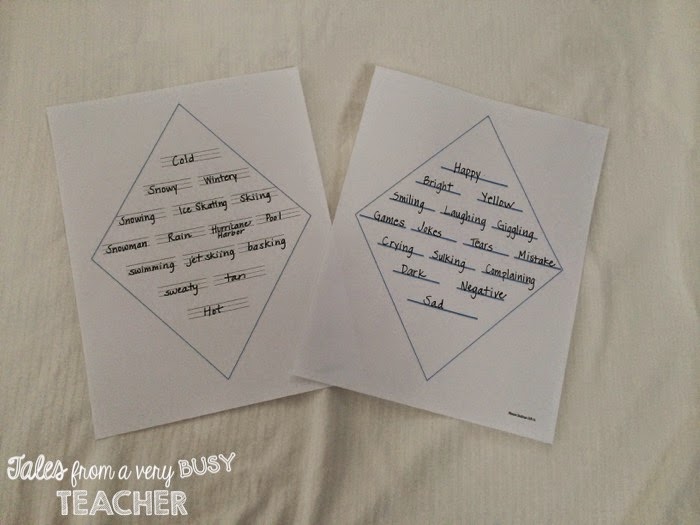
- Pass out Diamante Graphic Organizer (The Diamante graphic organizer is here for you with regular lines and printing guidelines. This will be their rough draft version.)
- Explain to students that they will be picking a pair of antonyms. Ask students for examples, and write the examples on the board. (hot, cold/open, close/up, down, etc.)
- Model how to fill in the graphic organizer:
- Write down the first antonym (cold)
- Write two adjectives about that word (snowy and wintery)
- Write three words ending in –ing about that word (snowing, ice skating, skiing)
- Write a two nouns about the first word and two nouns about its antonym (snowman, rain, Hurricane Harbor, pool)
- Write three words ending in –ing about the antonym (swimming, jet skiing, basking)
- Write two adjectives about the antonym (sweaty, tan)
- Write the antonym (hot)
- Tell Students that they will be filling in their own graphic organizer to create their “Diamante Poem.” You can display the graphic organizer on the board for students to see what they need to write. It’s located with the rough draft graphic organizers here!
- Start all together with students. Ask them to write down their first word, either one from the board when we brainstormed earlier, or a new word. Make sure it’s a word that will be easy to describe in the poem.
- Slowly go through the steps and release students into Independent Practice to fill out the rest of the organizer.
- Take back small group to work together on poem, using easier antonyms that they’re familiar with. For example, hot and cold, big and small, etc.
- When students are done filling in their graphic organizers, check off their spelling and give them a final draft paper to transfer their writing.
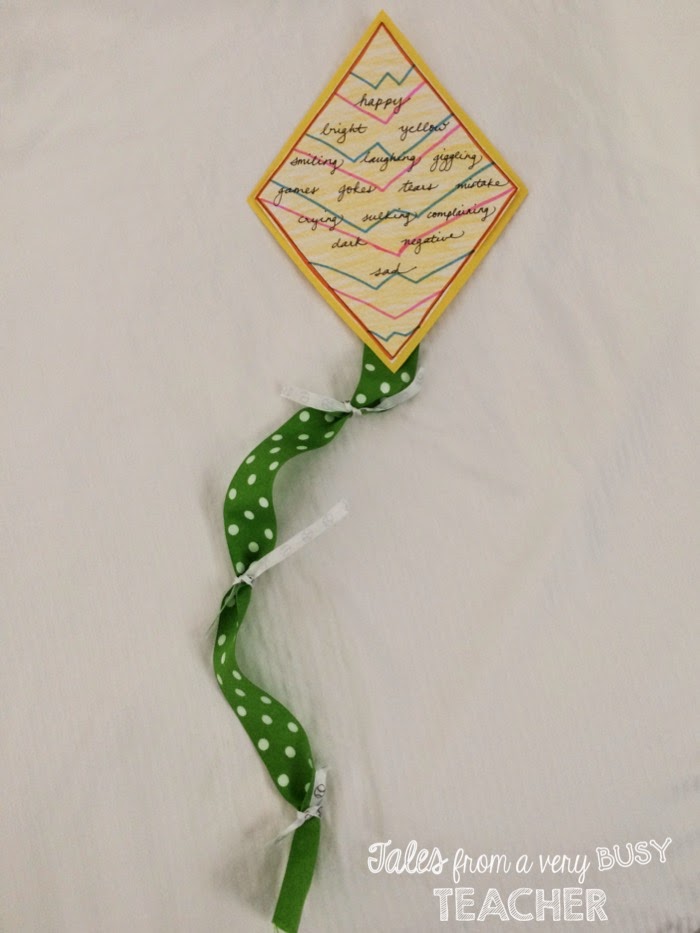
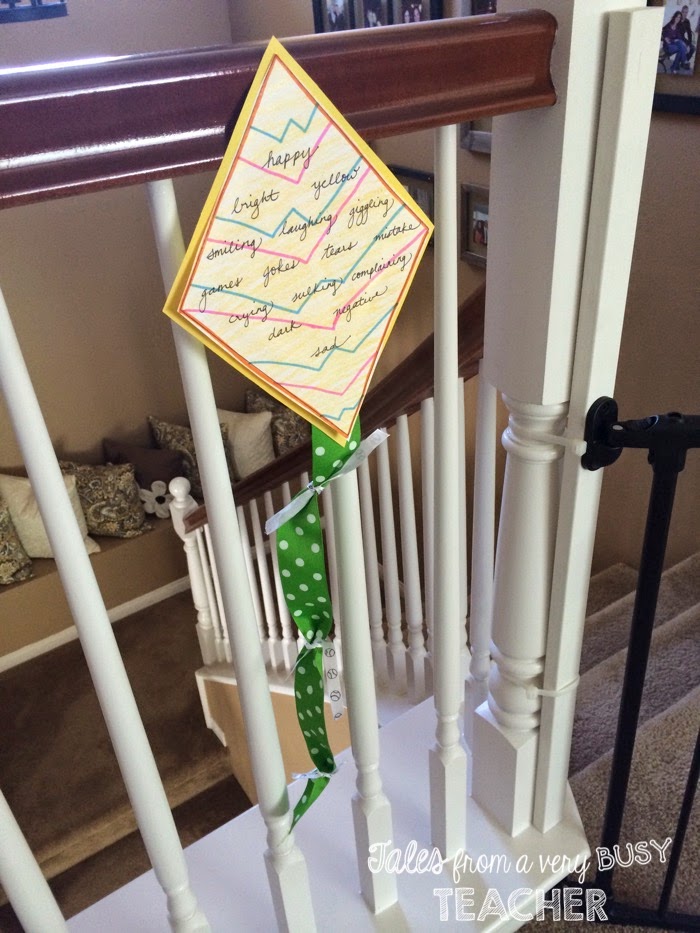
- Students will write their final poem and glue it onto construction paper backing. You’ll have to measure the kite backing with the printable I am giving you. Students can also color their kites.
- The final part will need some teacher help. Have students pick a long, thick ribbon for their kite tails. Help students glue the tails on the kite. Then use a thinner ribbon to tie knots on the thick ribbon.
Here’s an example of a finished product:
I hope you’re able to use this lesson with your kiddos! Check out some of my other Direct Instruction lessons too!
Happy teaching!

I haven't seen a diamante poem in years. I forgot about them. I'm going to have to pull this out for opposites in science and history. Ice/vapor, loyalists/patriots. Thank for the inspiration.