
Happy Monday!
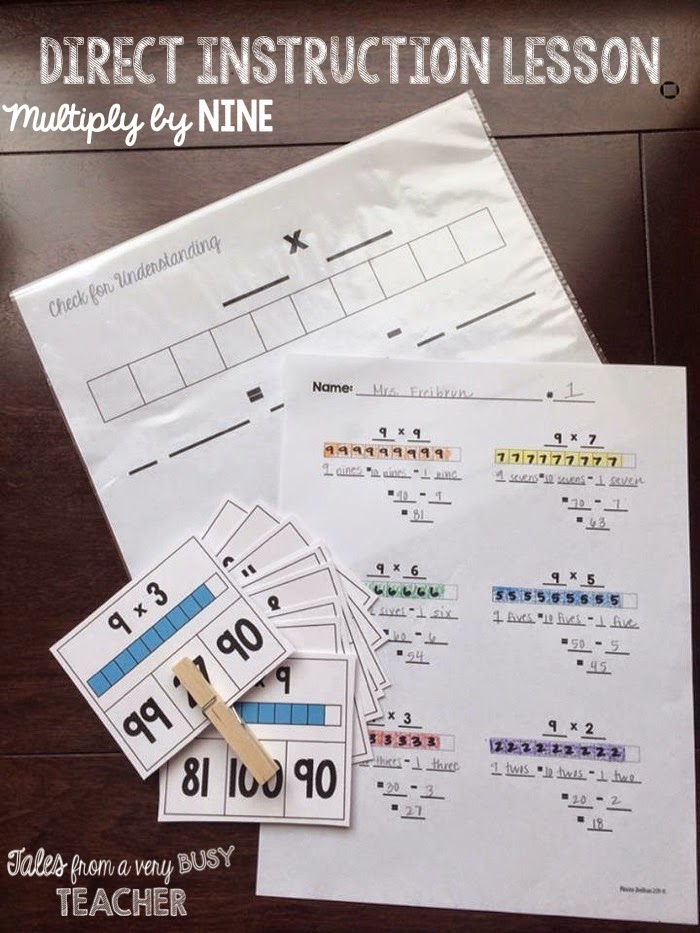
Creating Direct Instruction lessons by deconstructing Common Core Standards is a little addicting! Here’s a Direct Instruction lesson using the third grade math CCSS 3.OA.3 and 3.OA.5.
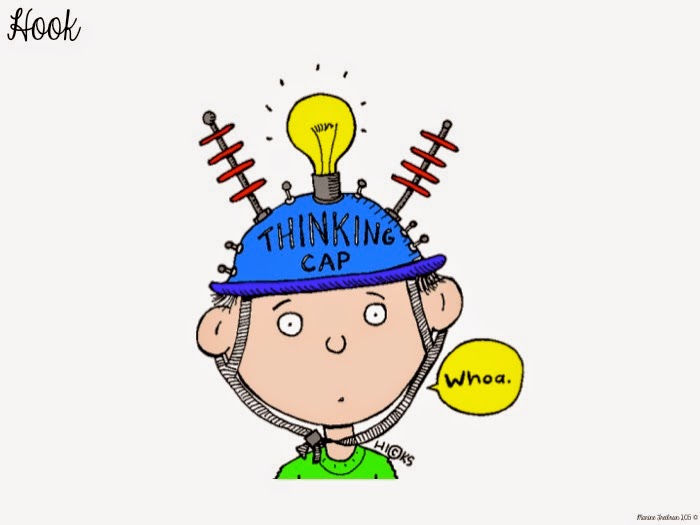
Slide One: Hook
The hook is a cute picture of a student with his “thinking cap” on his head. Engage students at the start of the lesson by asking them to wear their “thinking caps.” Let them know we will be thinking of strategies to help us with our multiplication facts today!
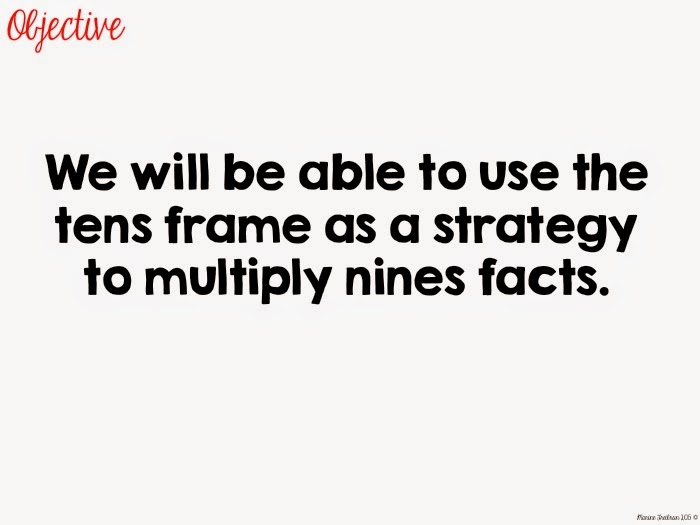
Slide Two: Objective
State the objective to your students and post it on your board.
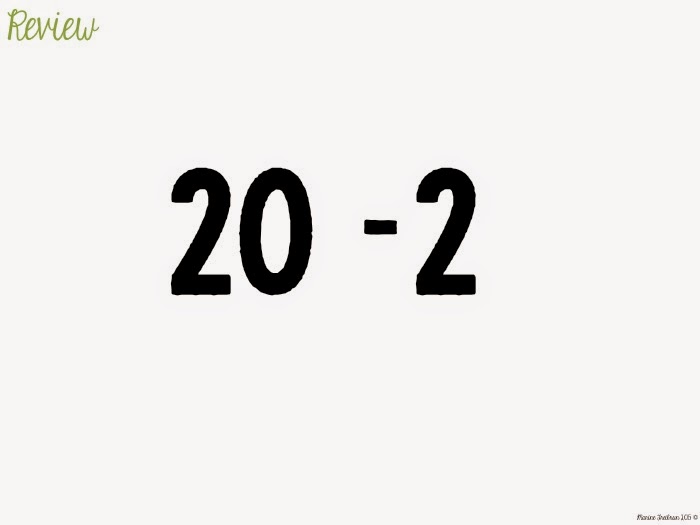
Slides 3 through 17: Review
The following slides are for review. These slides will help students remember using 10s to subtract, which will be helpful for the multiplication strategy.
Slide 3:
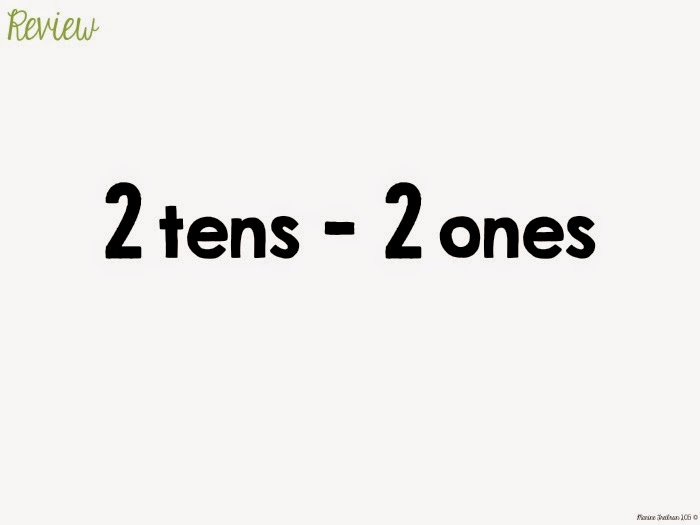
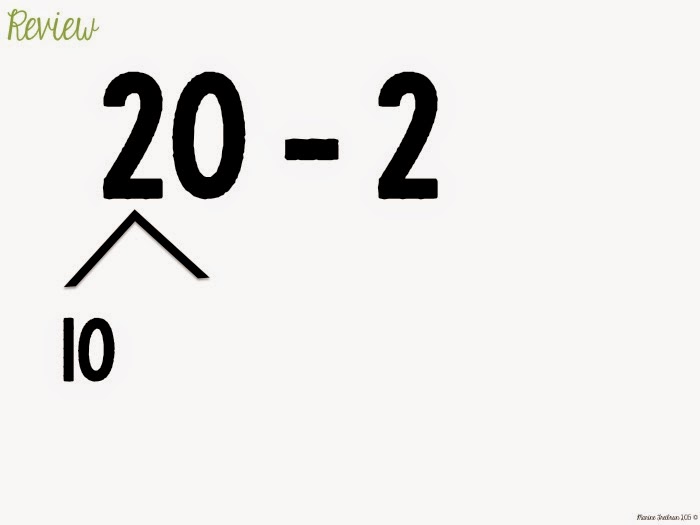
State the subtraction problem to your students.
Slide 4:
Explain that TWENTY is the same as 2 tens and TWO is the same as 2 ones.
Slides 5 and 6:
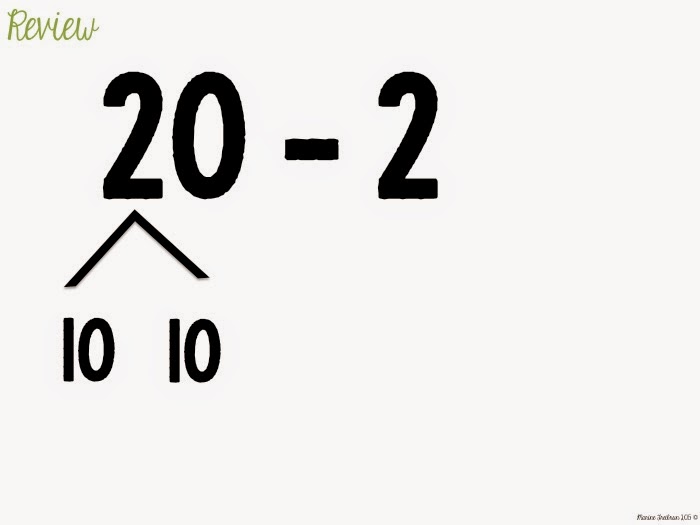
Break 20 apart into 2 tens
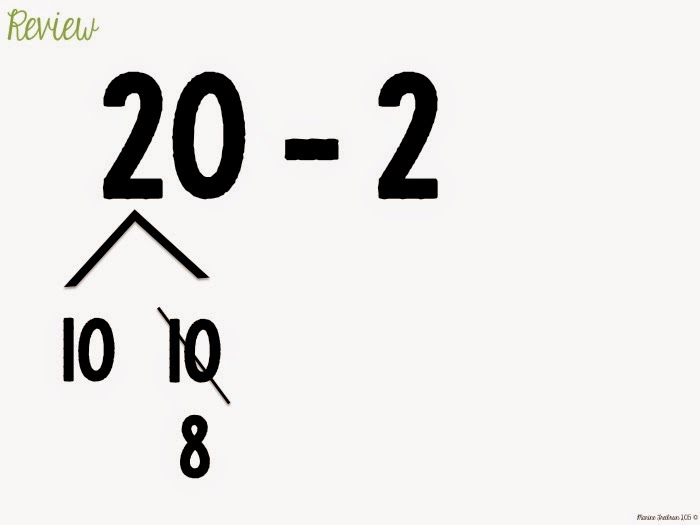
Slide 7:
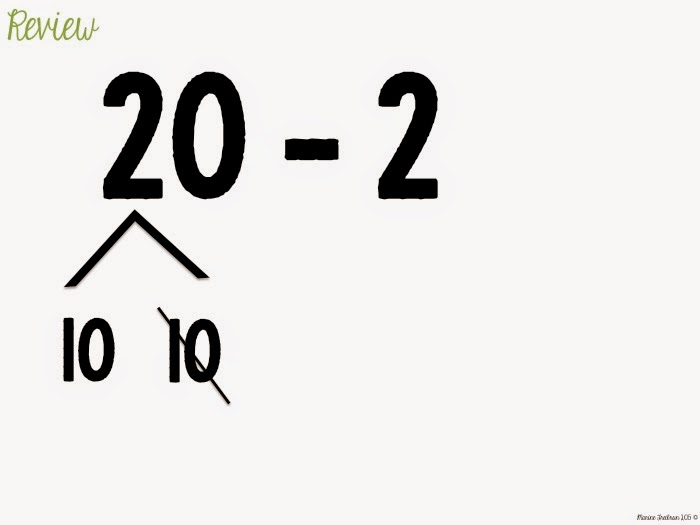
Explain that we will subtract 2 from 10
Slide 8:
Show that one 10 becomes an 8
Slide 9:
Combine the 10 and the 8 to create 18
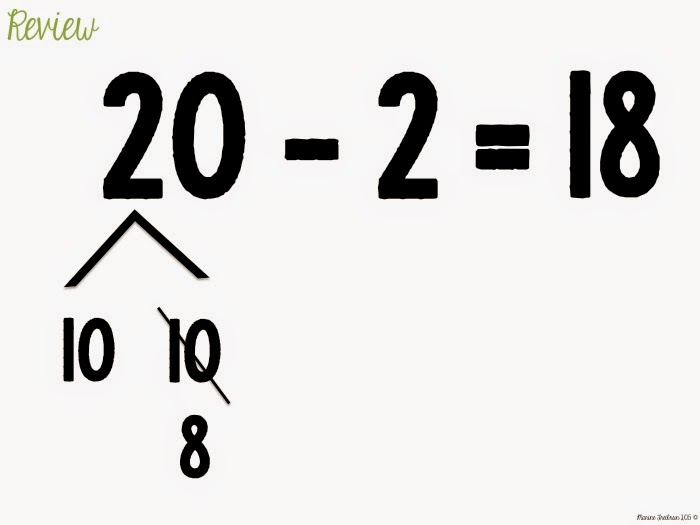
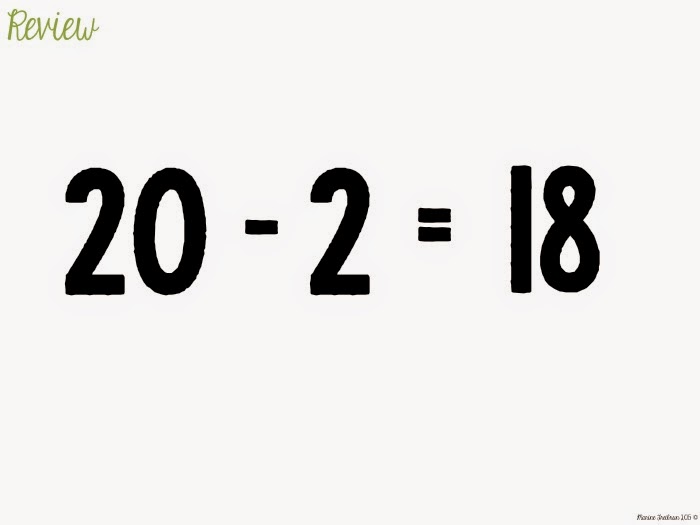
Slide 10:
We have solved 20-2=8
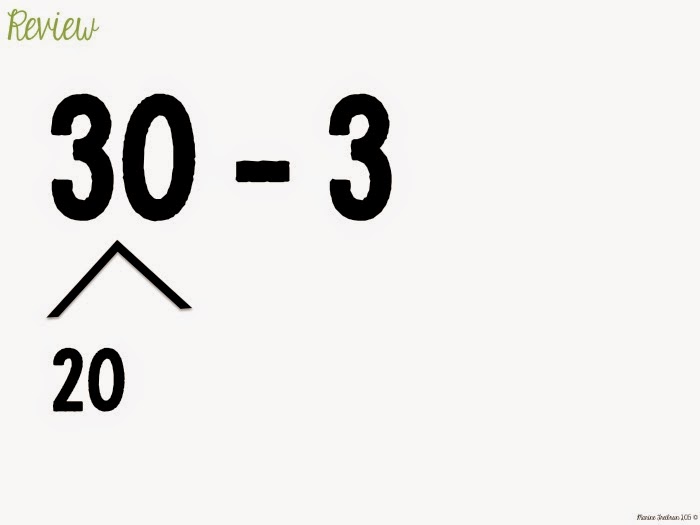
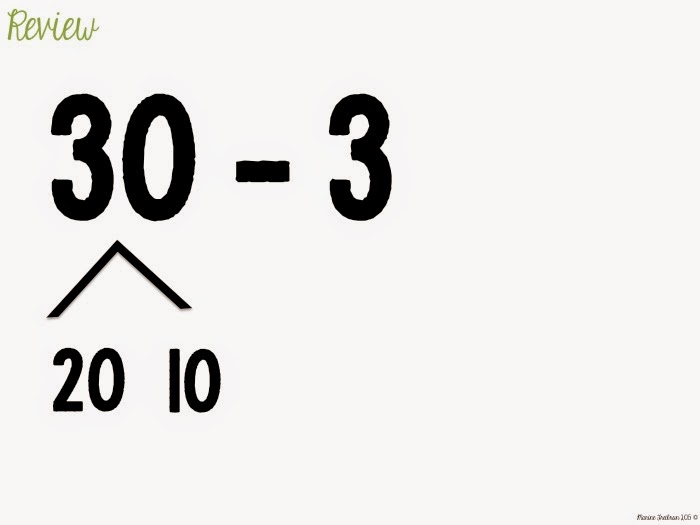
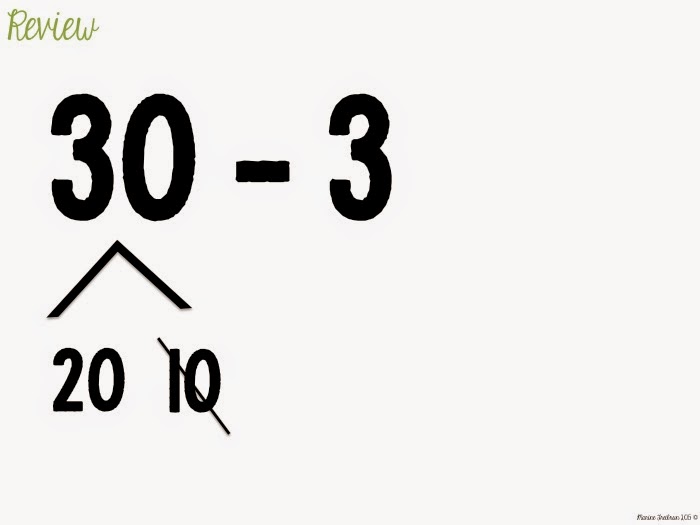
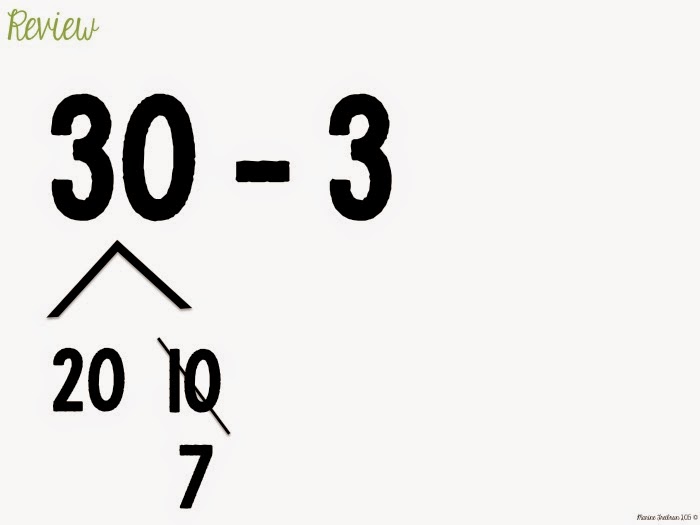
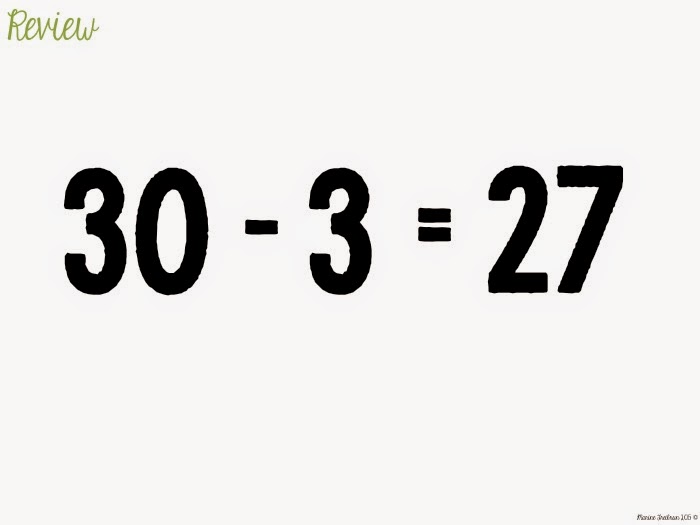
Slides 11 through 17:
Follow the same steps for the problem 30-3

Slide 18: Big Idea
The big idea explains to students why we need to know math strategies and why we need to learn about this math standard.

Slides 19 through 46: Modeling
Model how to use the tens frame to multiply with 9
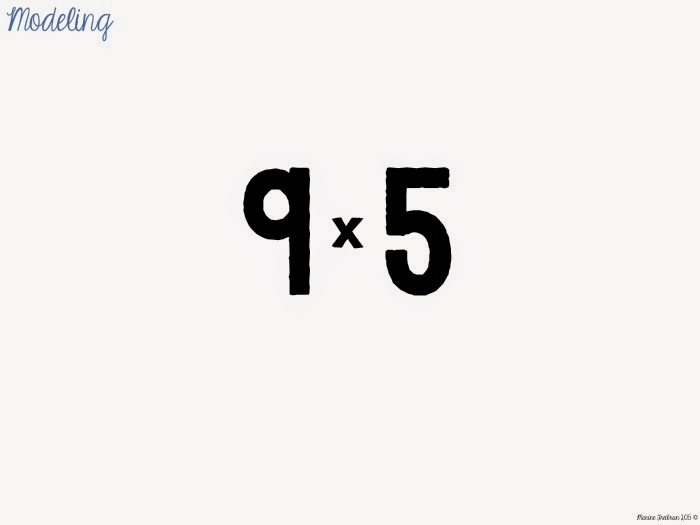
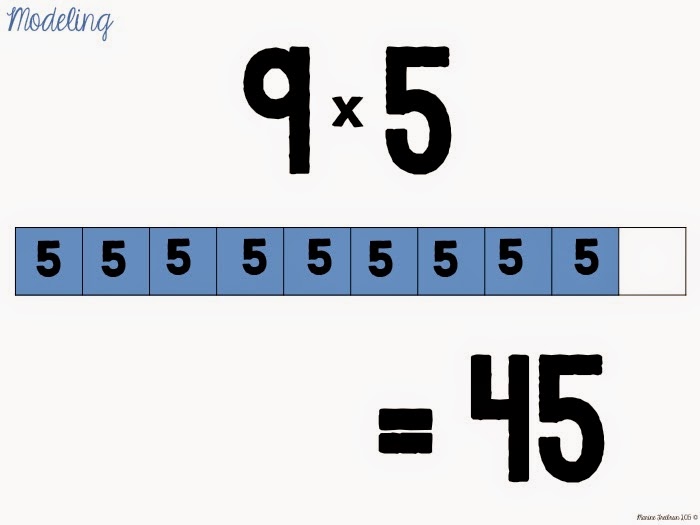
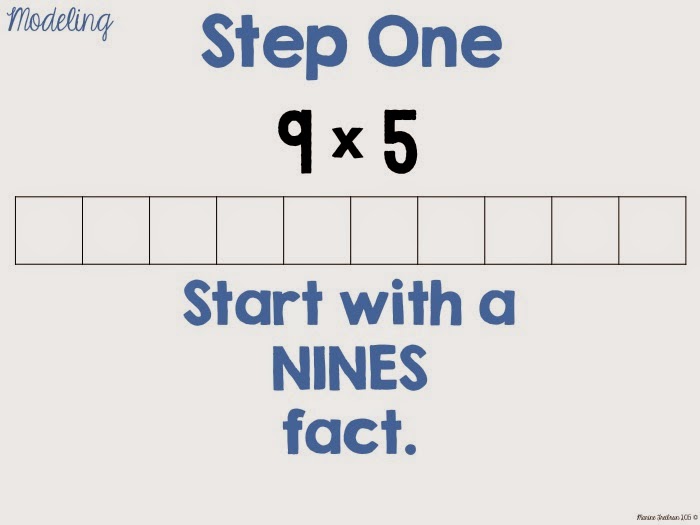
Slide 19:
Show the multiplication problem.
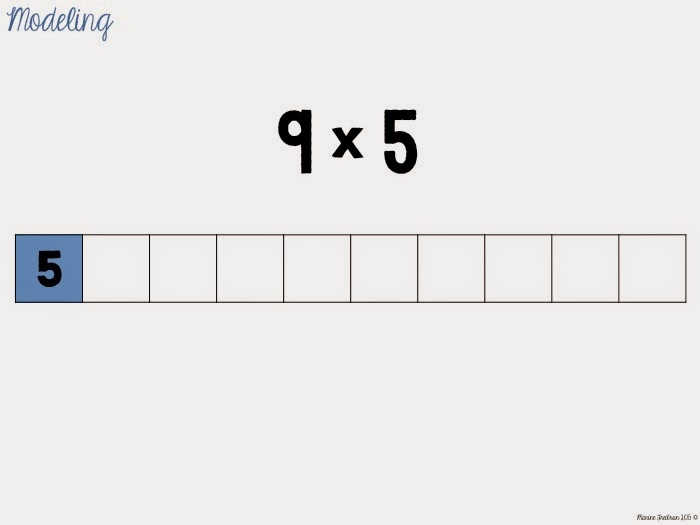
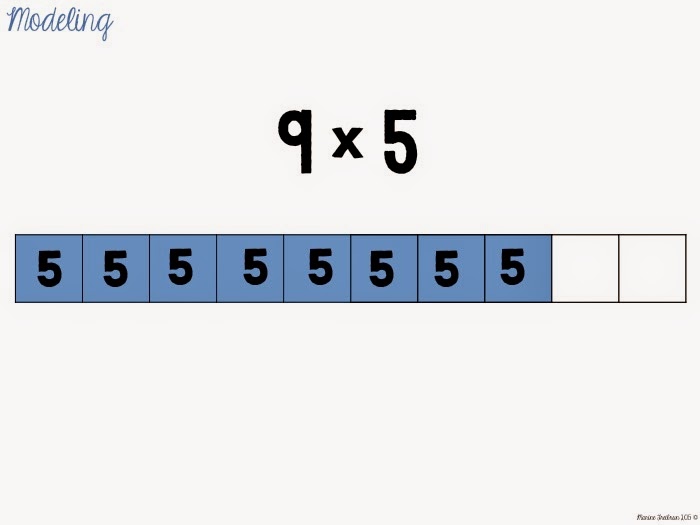
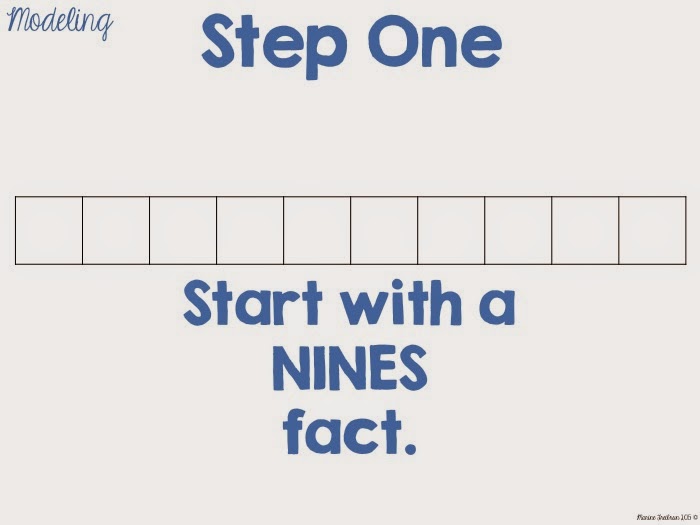
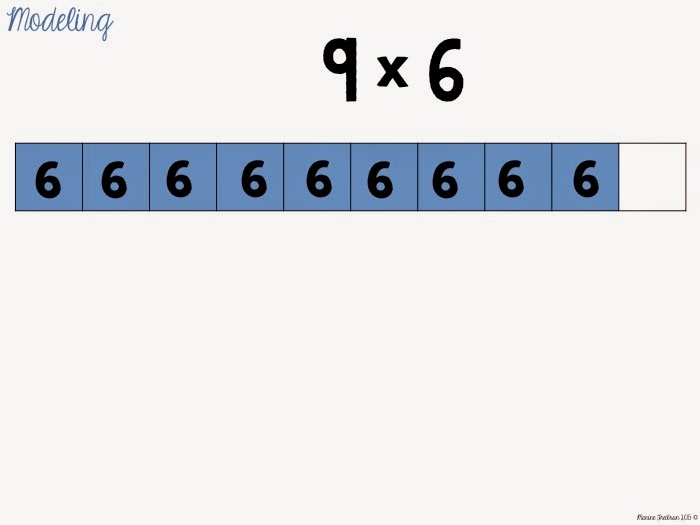
Slide 20:
Show the problem with the tens frame.

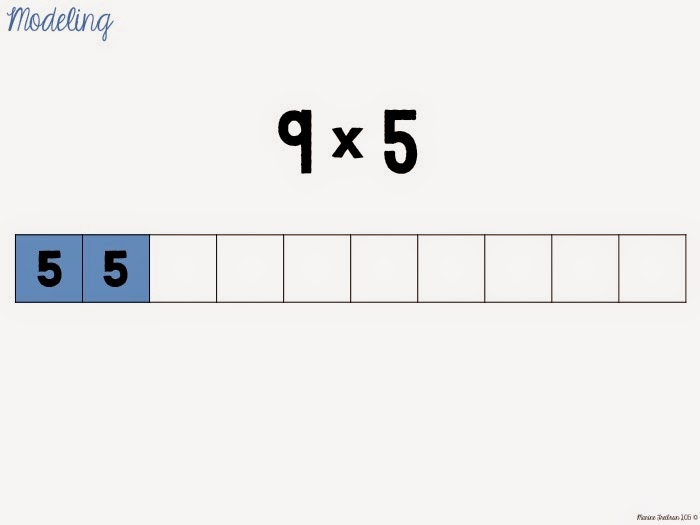
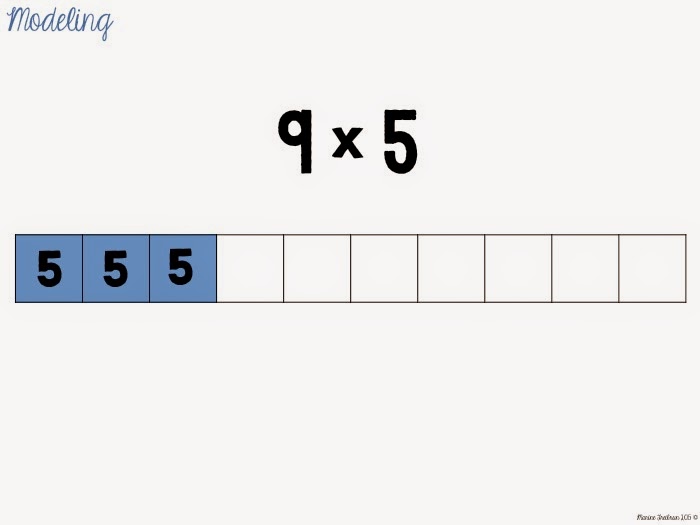
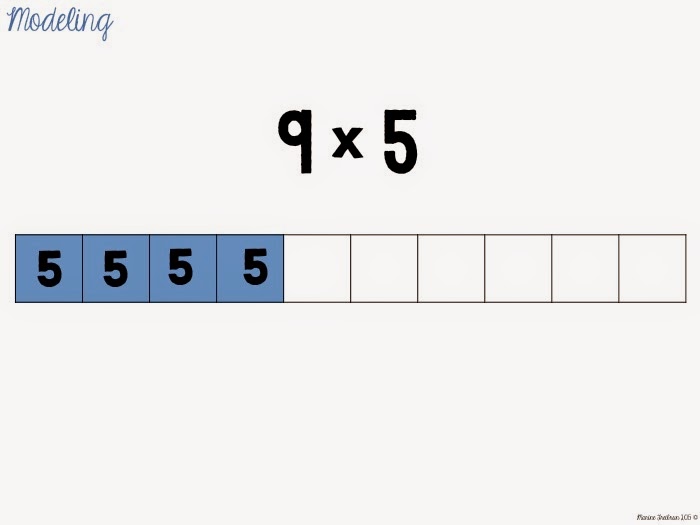
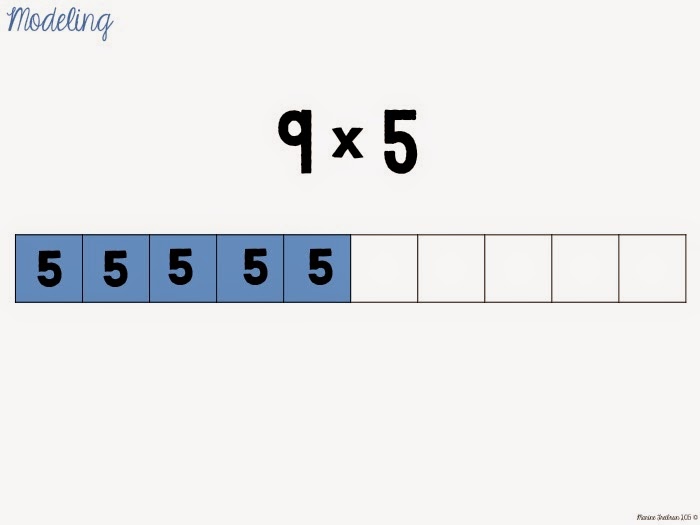
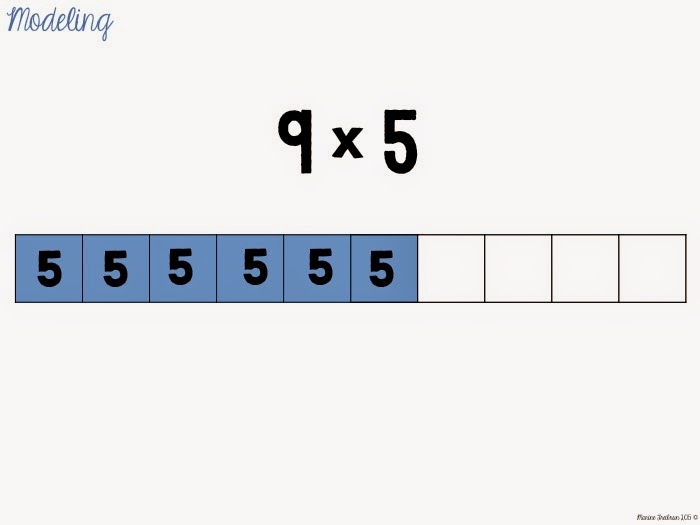
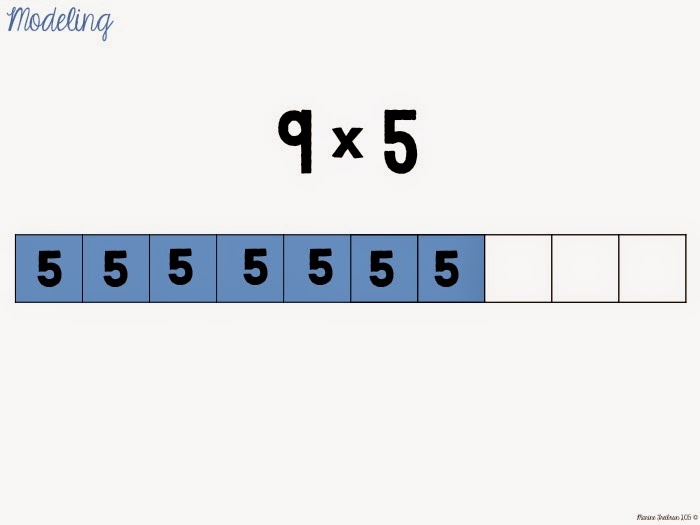
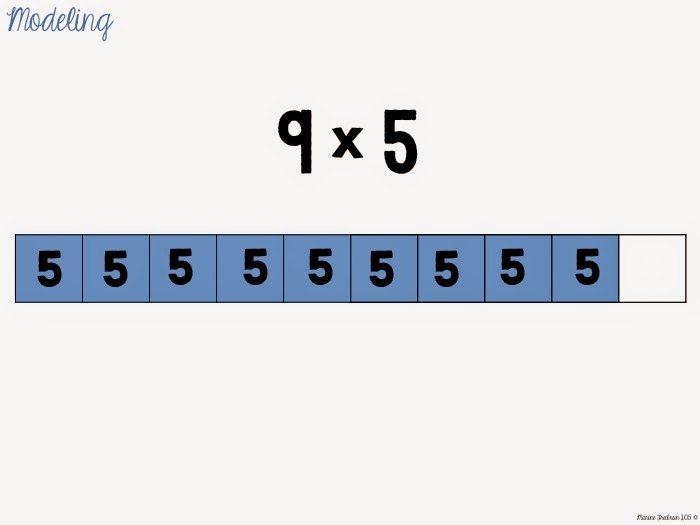
Slides 21 through 29:
Show how we can count by 5s to get to our answer using the tens frame, since we are multiplying by FIVE.
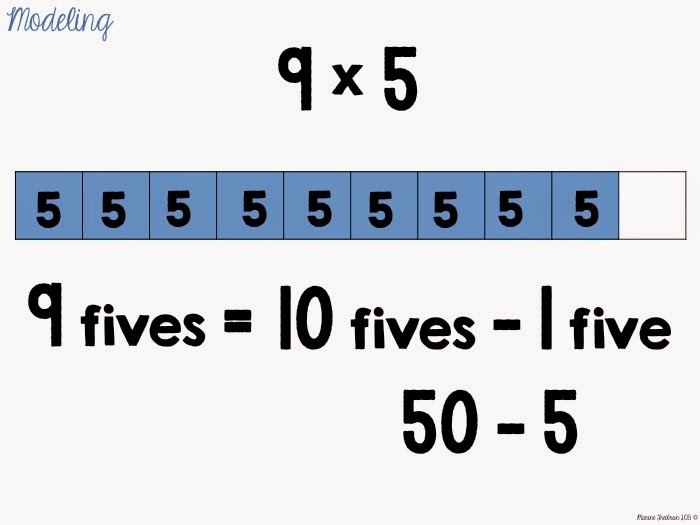
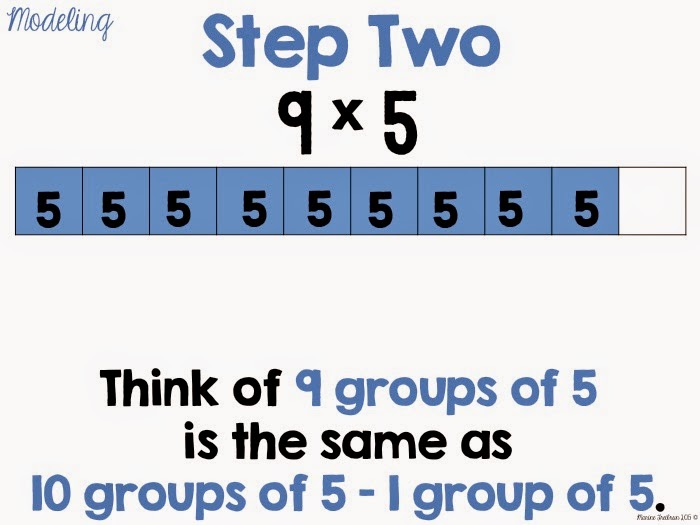
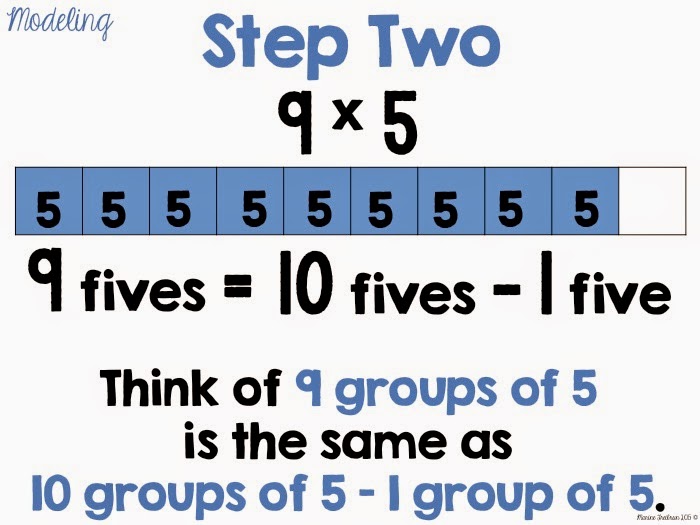
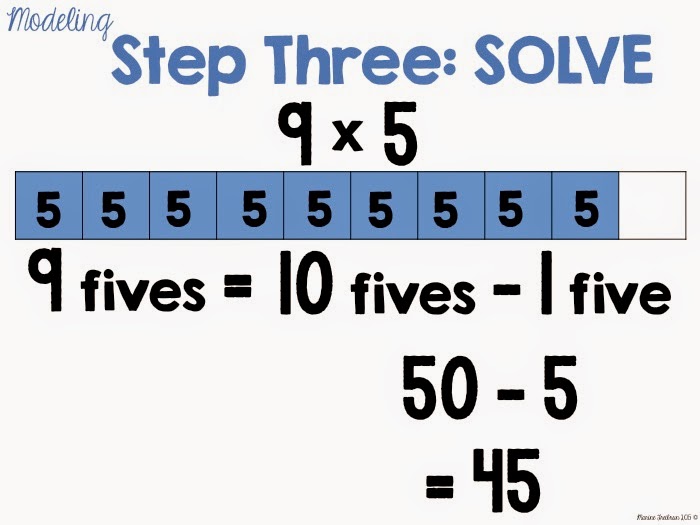
Slide 30:
Show number sentence and explain that 9×5 is the same as

9 fives = 10 fives – 1 five
using the tens frame to show students.
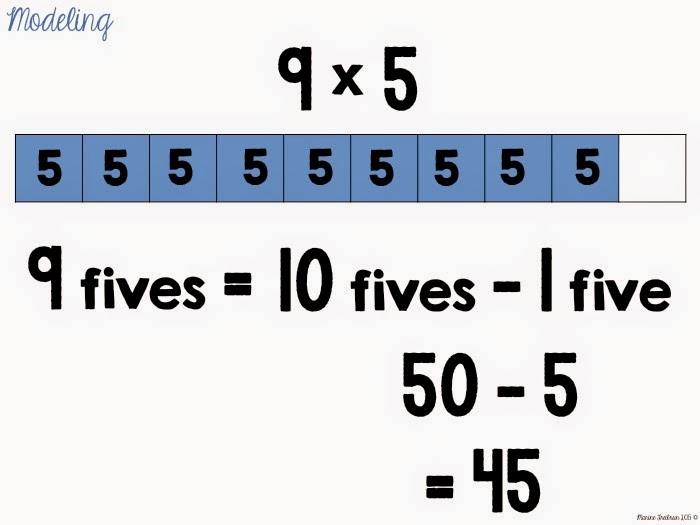
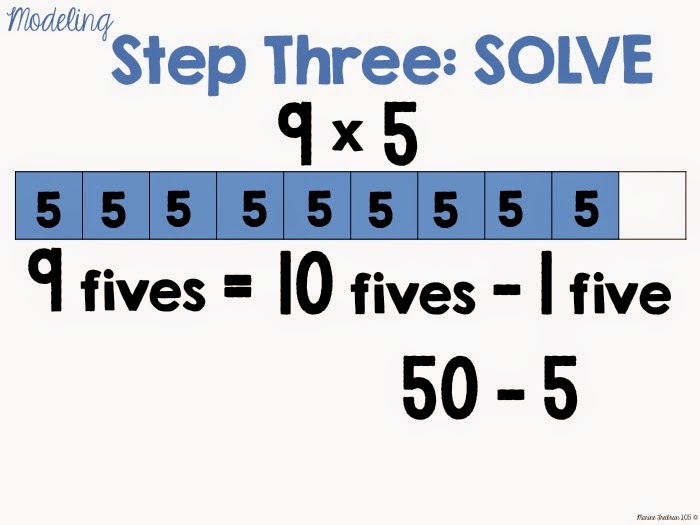
Slides 31 through 33:
Explain the number sentence by showing that 10 fives is 50 and 1 five is 5. Show the subtraction sentence and the answer.
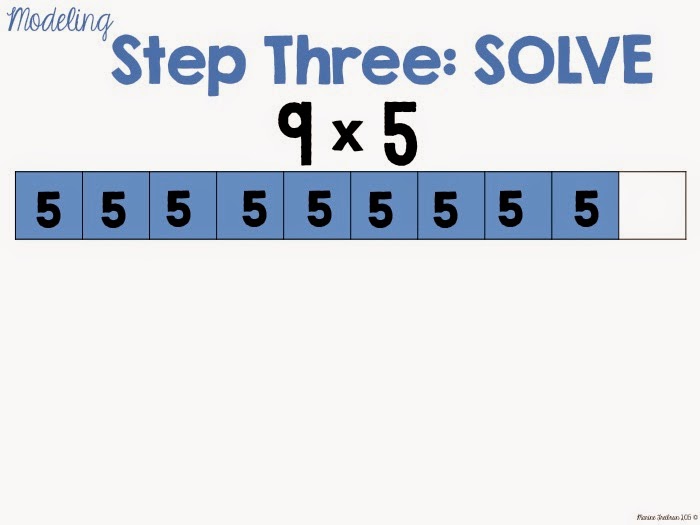
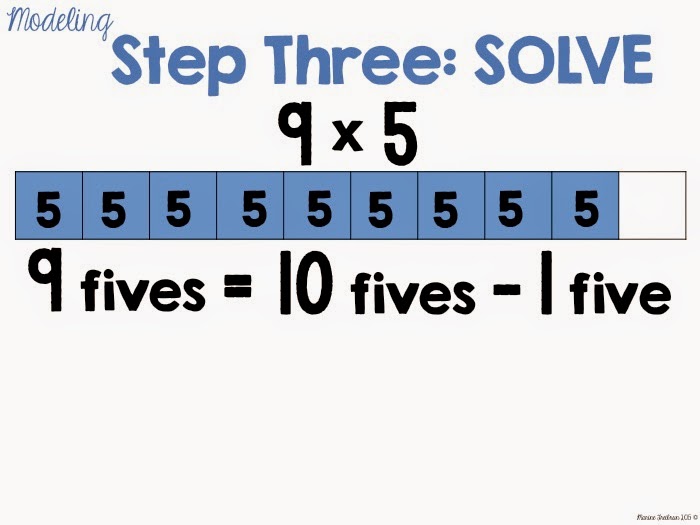
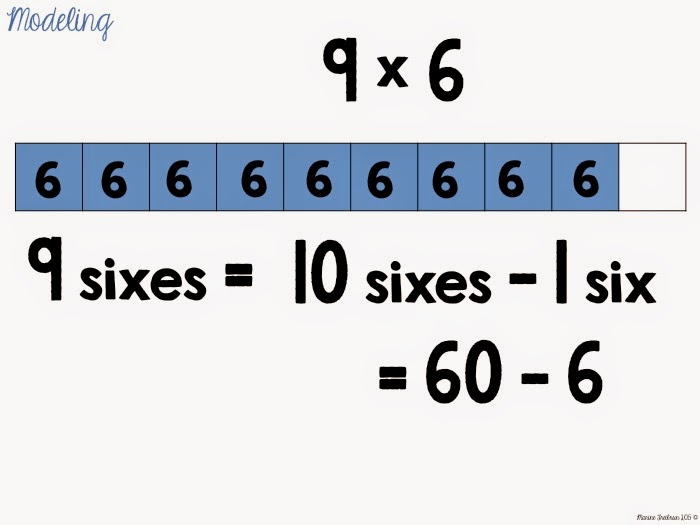
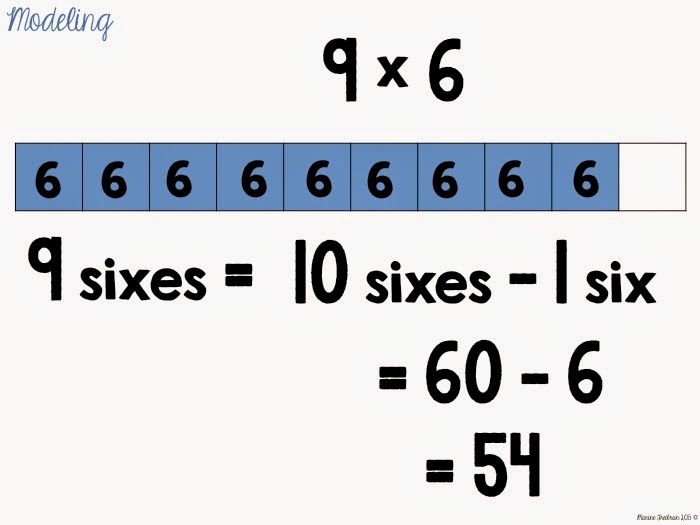
Slides 34 through 42:
Show the steps for solving the same problem so students understand the concept.
Slides 43 through 46:
Model the concept again with a new equation.

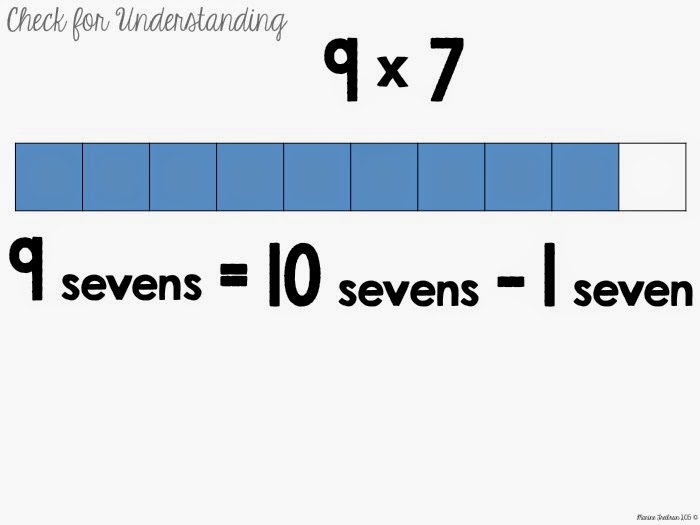
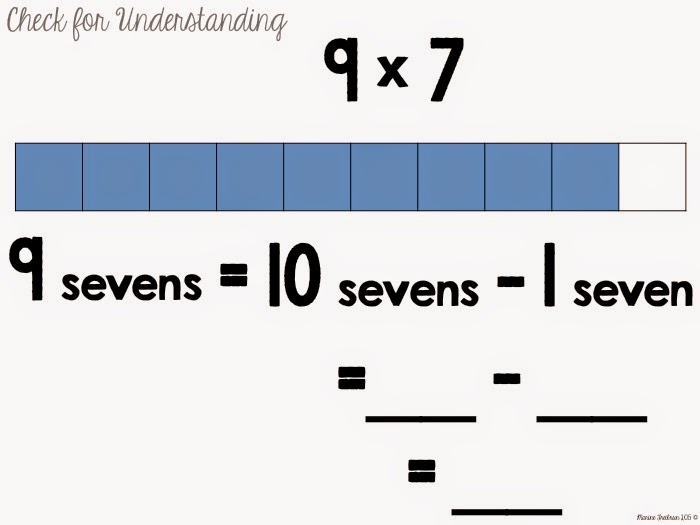
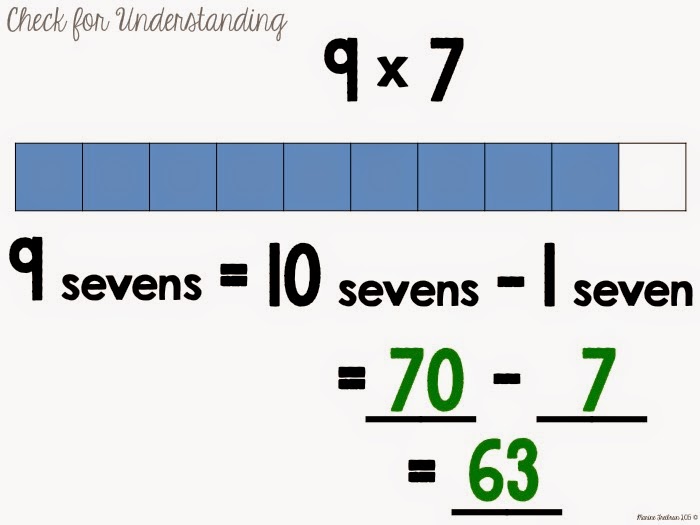
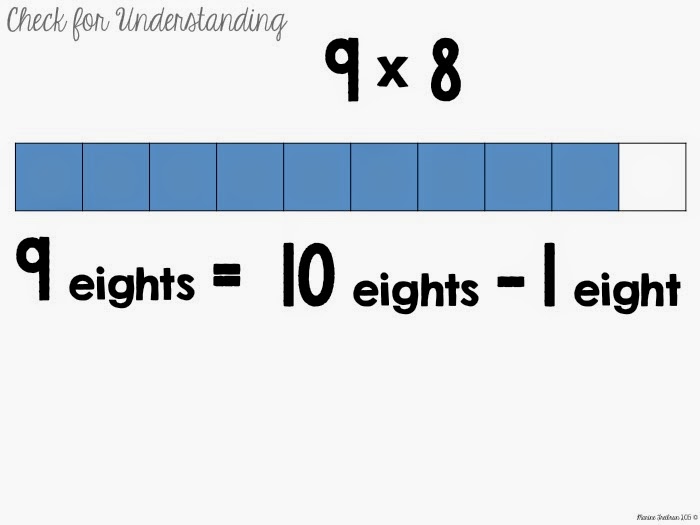
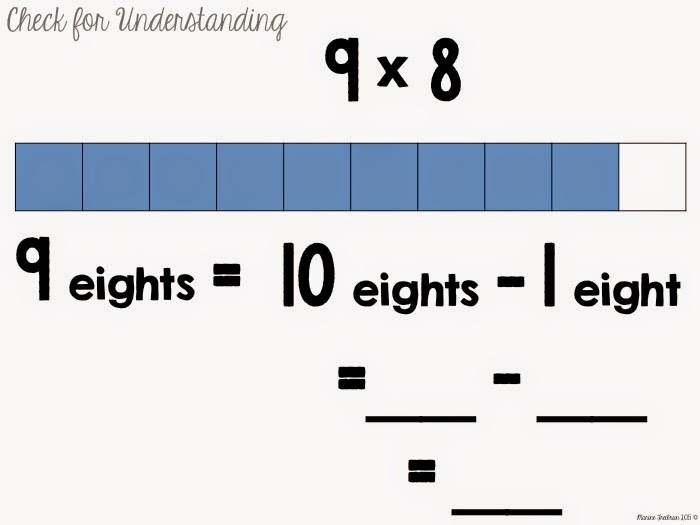
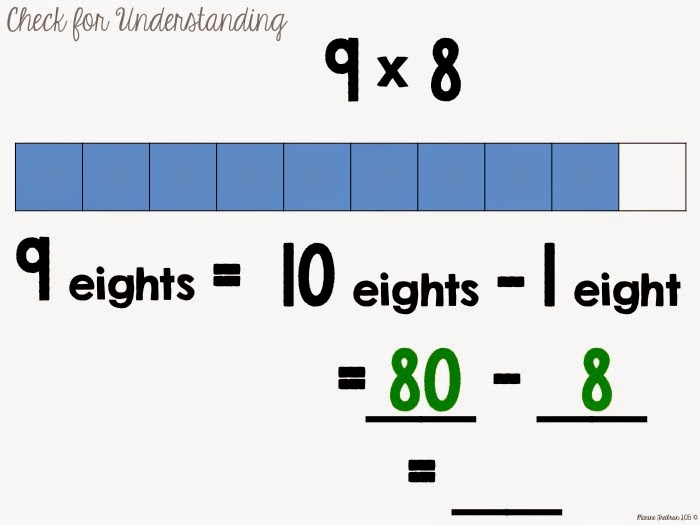
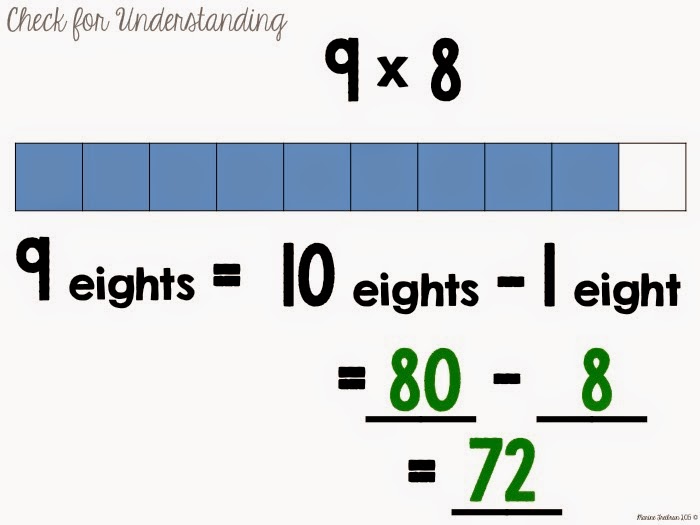
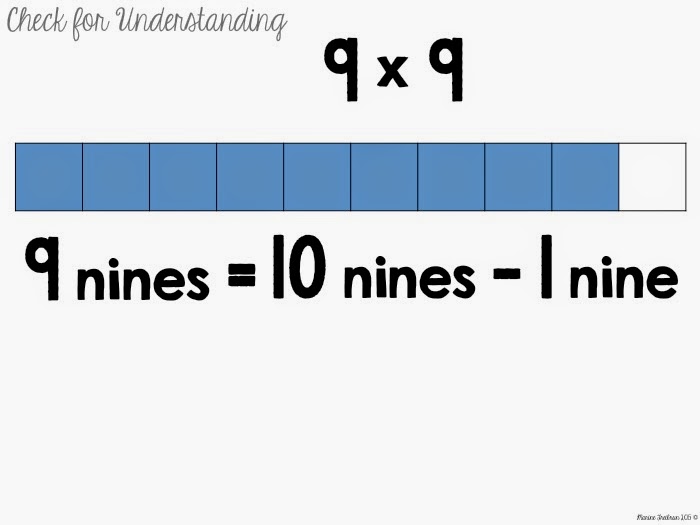
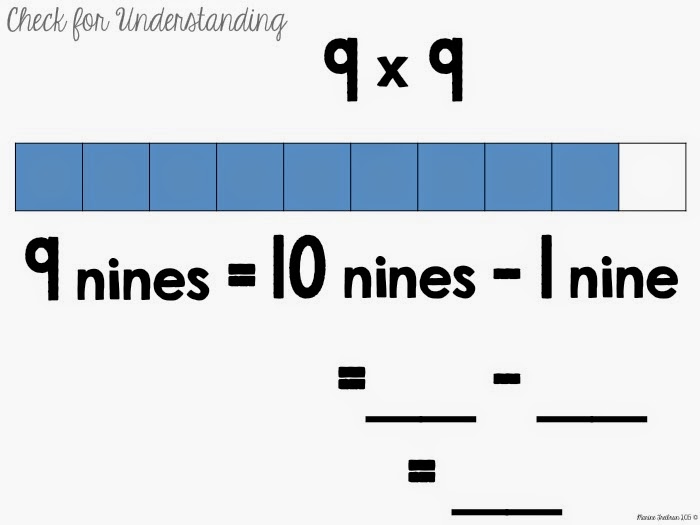
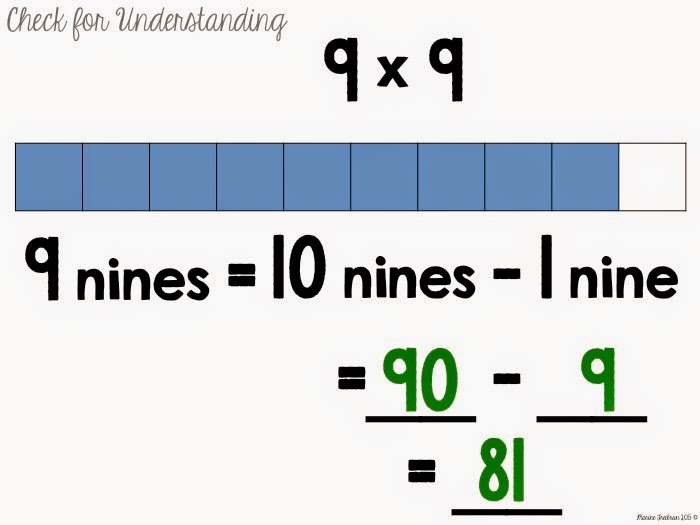
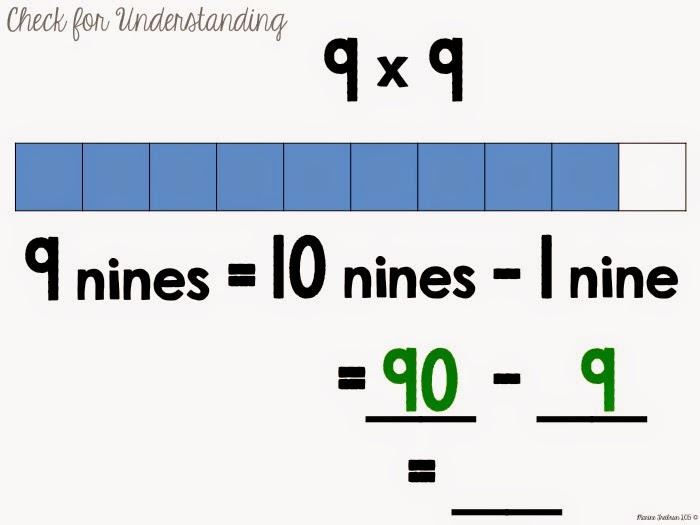
Slides 47 through 58: Check for Understanding
Use the template (found here) and place in sheet protectors for each student. Have them fill out the template and show you that they understand the concept by answering the questions on the PPT. You can also use a regular whiteboard and have students just write their answers. The answers will pop up in green on the PPT and students can see if they got the answer correct. You’ll repeat this process with a few equations.

Slides 59 through 61: Closure
Ask the three questions for closure. Students can respond on their boards.

Slide 62: Independent Practice
Click here for a free copy of the IP I created and some clip cards for extra practice. You can have your students color the tens frame and write the number in the boxes (like in my example at the top of this post). For the clip cards, just cut them out and prepare with clothespins. You can also print them on cardstock and/or laminate them for durability. Have your students use their whiteboard sheets to help them solve if they’re still having trouble.
Slide 63: Credits
I hope you’re able to use this lesson with your kiddos or as a base for your own lesson!
Enjoy!


Looks great, but math like this makes my brain hurt. LOL.
I need to study your slides:).